How to setup Jupyter Notebook In python
‘Jupyter’ is an acronym meaning Julia, Python, and R. These programming languages were the original use case for Jupyter. Now though, Jupyter Notebook supports many other languages. today in this topic we will see how to install How to setup the Jupyter Notebook app In python using PIP and Anaconda.
[ufwp search=”Learn Python Programming with Jupyter Notebook” items=”1″ template=”list”]
What is a Jupyter Notebook?
“‘notebook’ denotes documents that contain both code and rich text elements, such as figures, links, equations, etc.
Because of the mix of code and text elements, these documents are the ideal place to bring together an analysis description and its results.
They also can be executed to perform the data analysis in real-time”
The main components of the whole environment are, on the one hand, the notebooks themselves and the application.
On the other hand, you also have a notebook kernel and a notebook dashboard.
Let’s look at these things in more detail.
What is the Jupyter Notebook App?
As a server-client application, the Jupyter Notebook App allows you to edit and run your notebooks via a web browser. The application can be executed on a PC without Internet access, or it can be installed on a remote server, where you can access it through the Internet.
Advantages of a Jupyter Notebook
- The notebook has the ability to re-run individual code snippets, and it provides you the flexibility of modifying them before re-running.
- You can deploy a Jupyter Notebook on a remote server and access it from your local web browser.
- You can insert notes and documentation to your code in a Jupyter Notebook in various formats like markdown, latex, and HTML.
- Headings in a Jupyter Notebook are also supported, which is very useful when you want to provide heading & sub-headings to signify various important parts of your codebase. It helps improve the readers’ experience.
- Use a Jupyter Notebook as cells.
- Ability to share a Jupyter Notebook in various formats like
.py,.html,.md,.pdf, etc. - For machine learning folks, Jupyter Notebook is very helpful since it allows for Data Visualization. Jupyter Notebook supports visualizations and enables you to render graphs and charts. These are generated from codes with the help of modules like Matplotlib, Plotly, or Bokeh.
[ufwp search=” Basics of Python Programming for Beginners (with Jupyter)” items=”1″ template=”list”]
How to Install the Jupiter Notebook Using pip
If you don’t want to install Anaconda, you just have to make sure that you have the latest version of pip. If you have installed Python, you will typically already have it.
What you do need to do is upgrade pip but before, that let’s install and create a virtual environment:
# On OS X or Linux
pip3 install virtualenv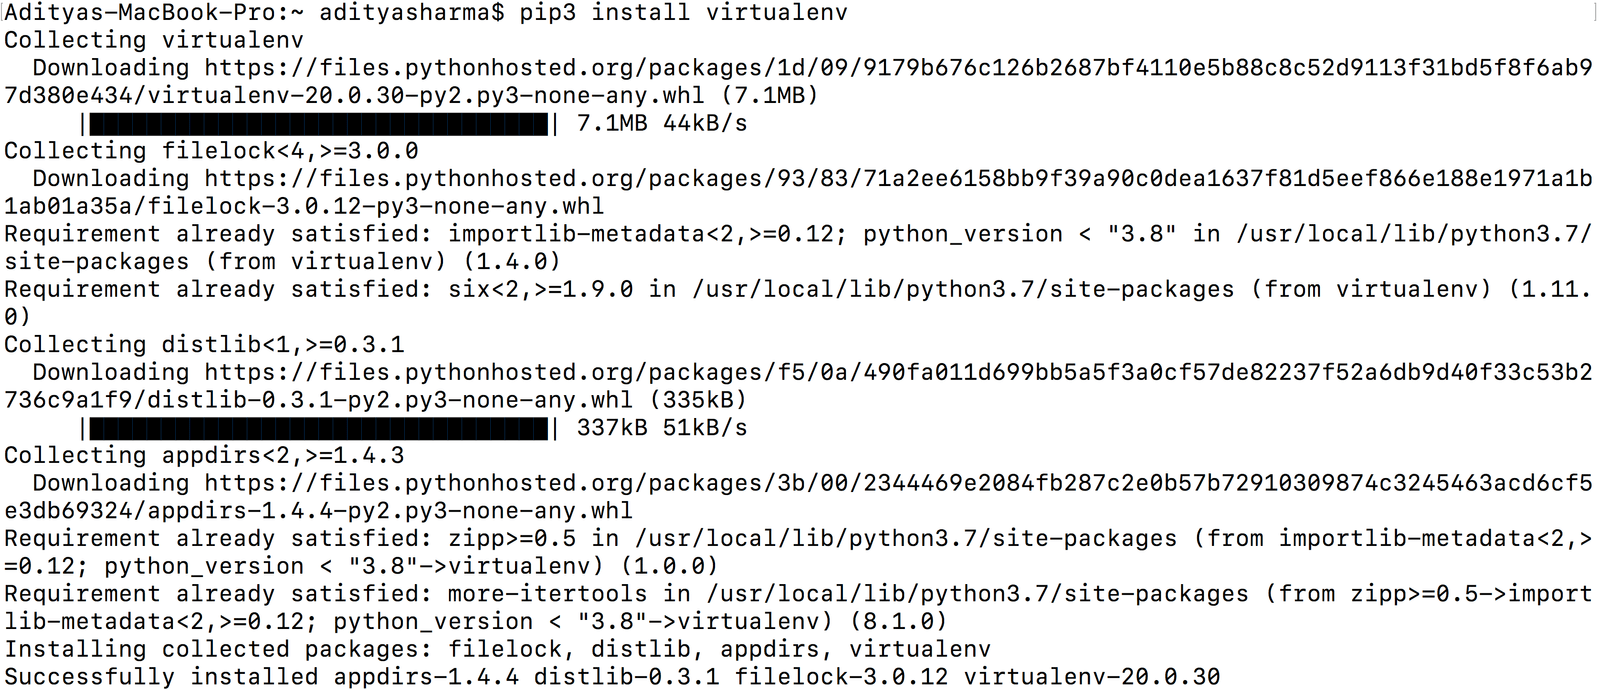
Now let’s create a virtual environment jupyter and activate it!
virtualenv jupyter
source jupyter/bin/activate
Let’s upgrade pip now, but first, let’s check the already installed pip version.
pip3 --version

From the above output, you can see that we have pip version 20.2.1.
Let’s upgrade that:
# On Windows
python -m pip install -U pip setuptools
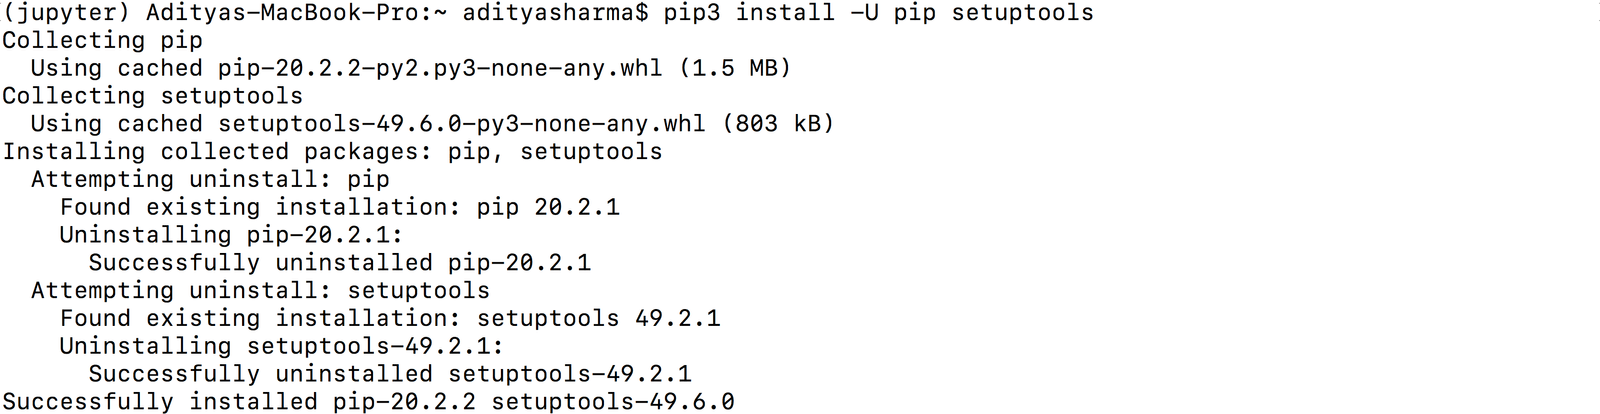
# On OS X or Linux
pip3 install -U pip setuptools
Once you have pip, you can just run the below command to install a Jupyter Notebook, which would take a while to install.
pip3 install jupyter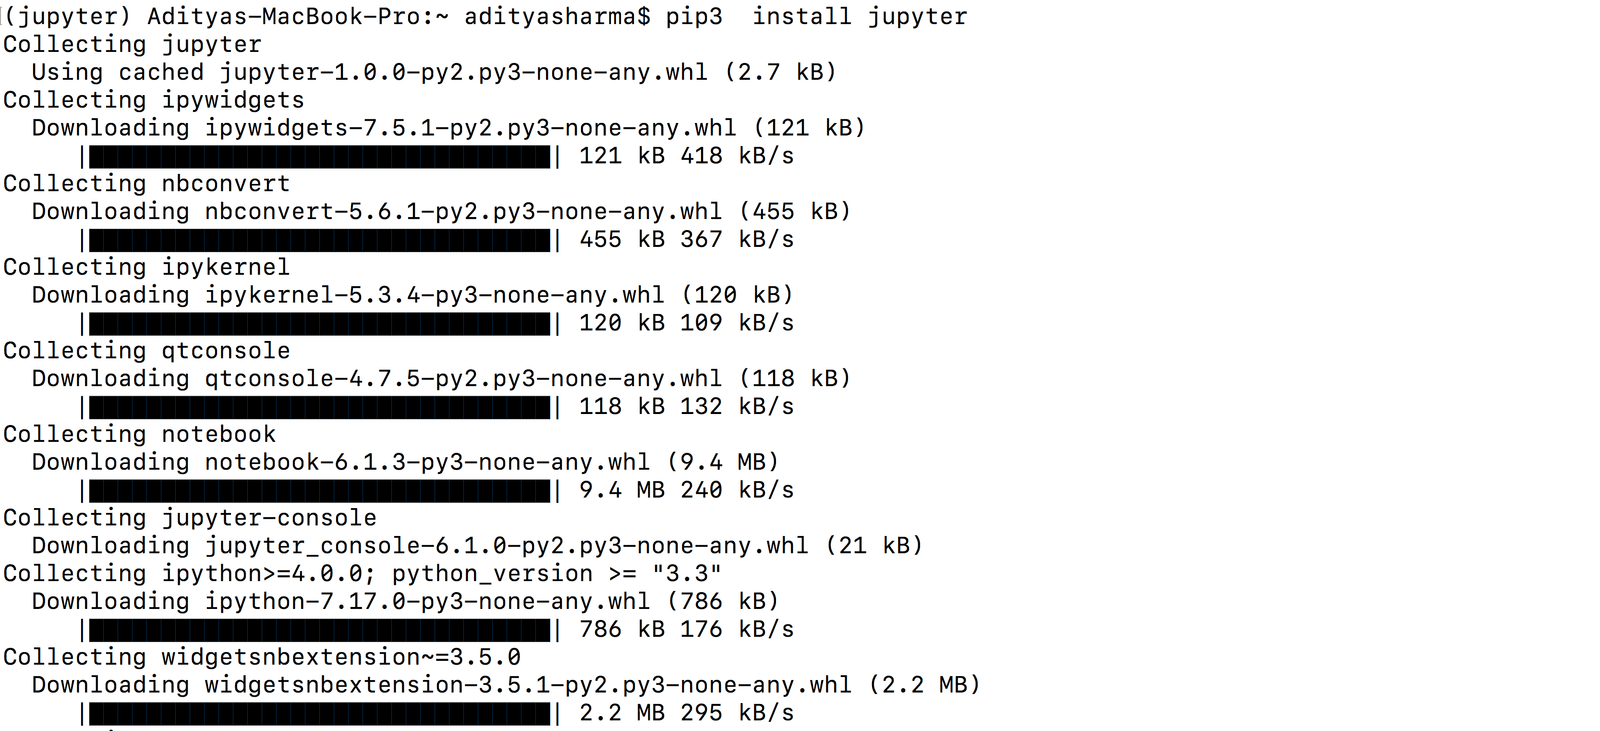
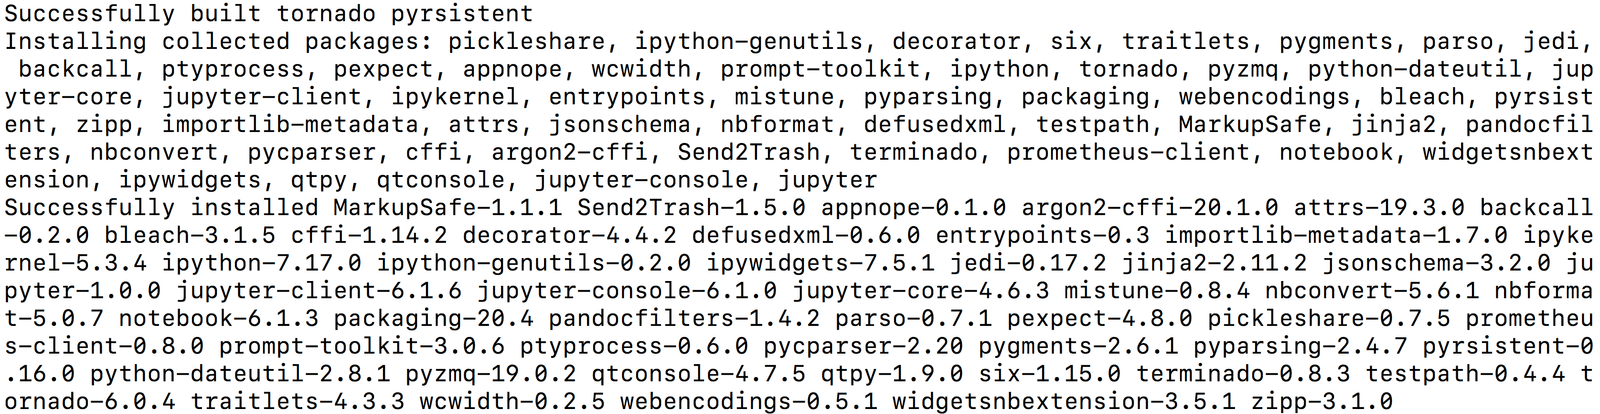
Great!
So, you are all set to run and start using Jupyter Notebook but before that, let’s also look at how you can install jupyter using Anaconda.
How to Install Jupyter Notebook Using Anaconda
One of the requirements here is Python, Python 3.3, or greater since Python 2.7 has reached the end of its life (EOL) on January 1st, 2020. The general recommendation is that you use the Anaconda distribution to install both Python and the Jupyter Notebook.
Jupyter Notebook in Anaconda comes pre-installed, meaning that you do not have to install it explicitly. All you need to install is Anaconda, and Jupyter Notebook would already be present inside it.
Anaconda’s advantage is that you have access to over 720 packages that can easily be installed with Anaconda’s conda, a package, dependency, and environment manager. You can follow the instructions for the installation of Anaconda here for Mac or Windows.
Is something not clear? You can always read up on the Jupyter installation instructions here.
If you need more information about installing packages in Python, you can go to this page.
[ufwp search=”Python and Jupyter Notebooks for beginners” items=”1″ template=”list”]
Getting Started With Jupyter Notebook
Now that you have learned all about what Jupyter Notebooks are, their benefits, and how to install them on your machines, let’s put them to some practical use!
Launching Jupyter Notebook
To launch your Jupyter notebook, simply type the below command!
jupyter notebook
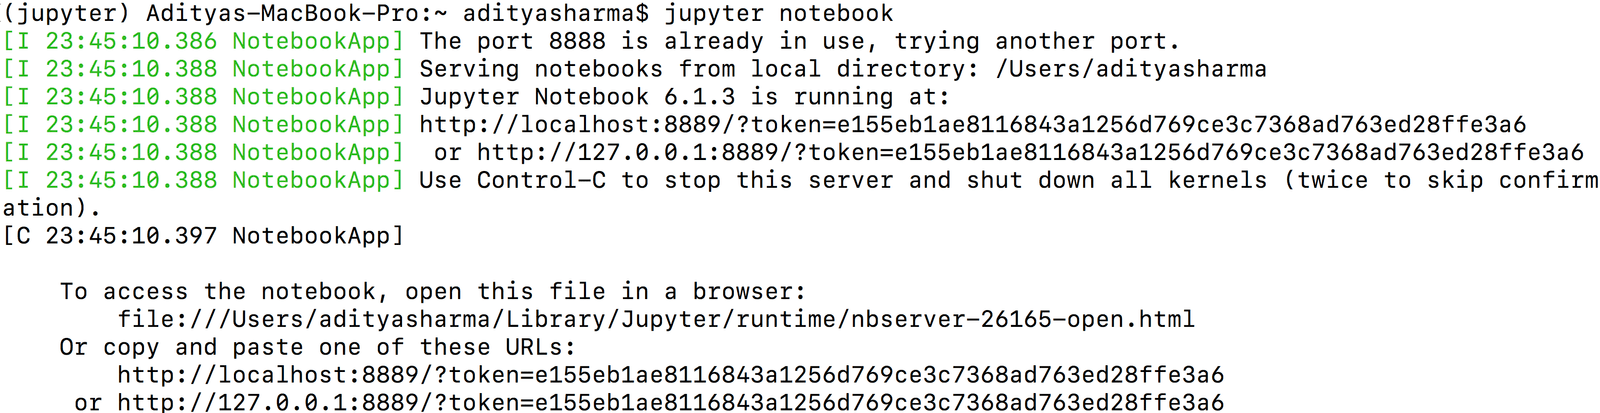
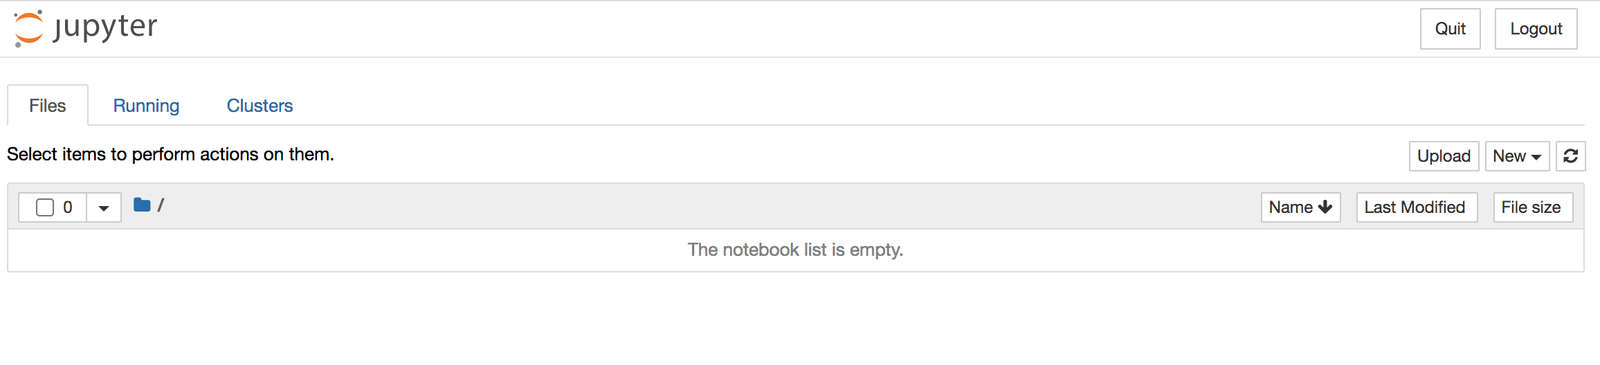
Once you do this, the Jupyter notebook should open up the below tab for you inside your web browser:
Note that the Jupyter Notebook will open using the below URL:
However, the port number 8888 might change if a process is using it or a second Jupyter Notebook session runs in the background.
In some cases, the Jupyter Notebook might not open up on its own, in which case you can simply copy one of the URLs that are generated when you run the command jupyter notebook, which in our case is:
http://localhost:8889/?token=e41173caeda552cdcab1bcc775e2463ac510b8847f73604b
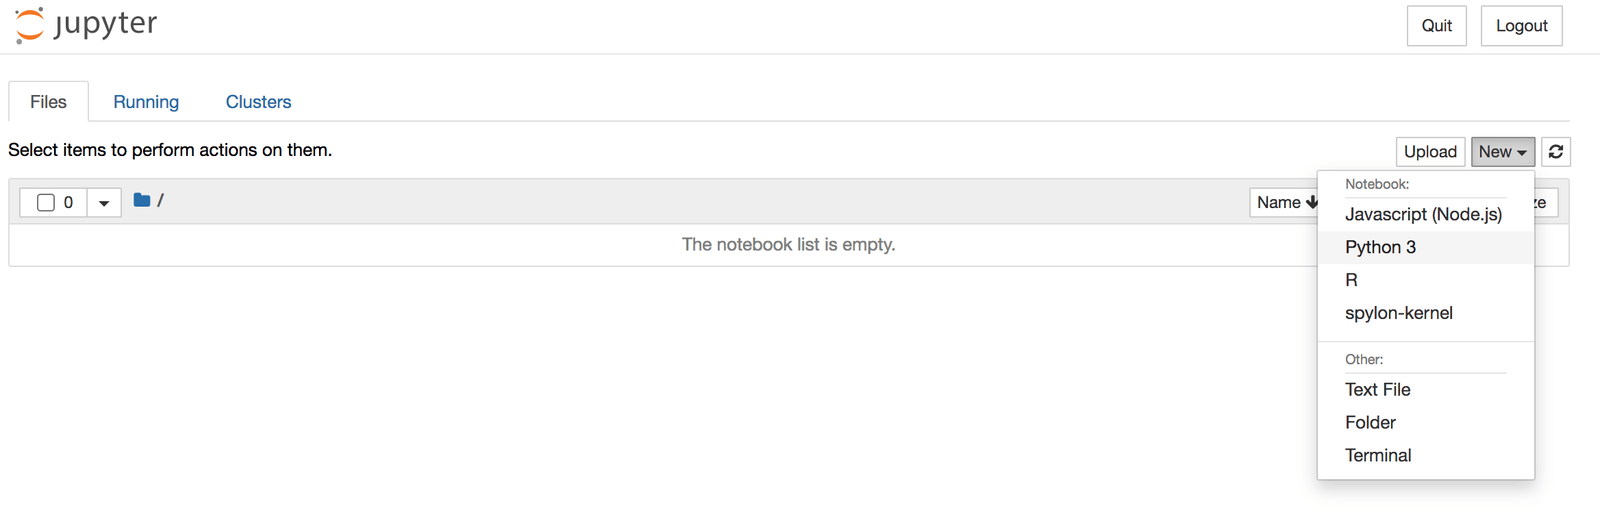
Now, let’s open a Python3 Notebook inside Jupyter by clicking the New tab and select Python3:
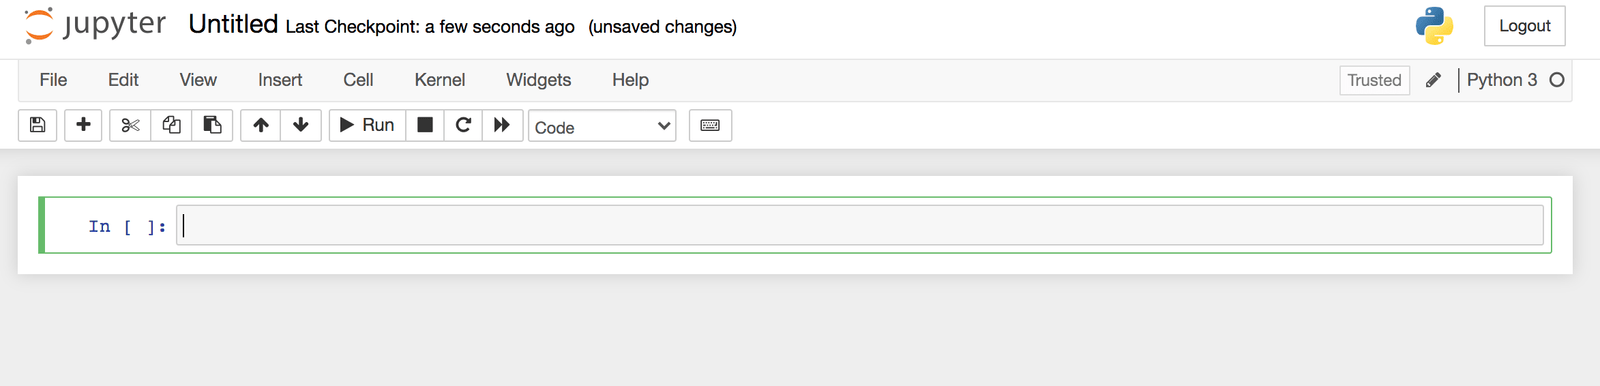
And finally, we have our very first Python3 Jupyter Notebook:
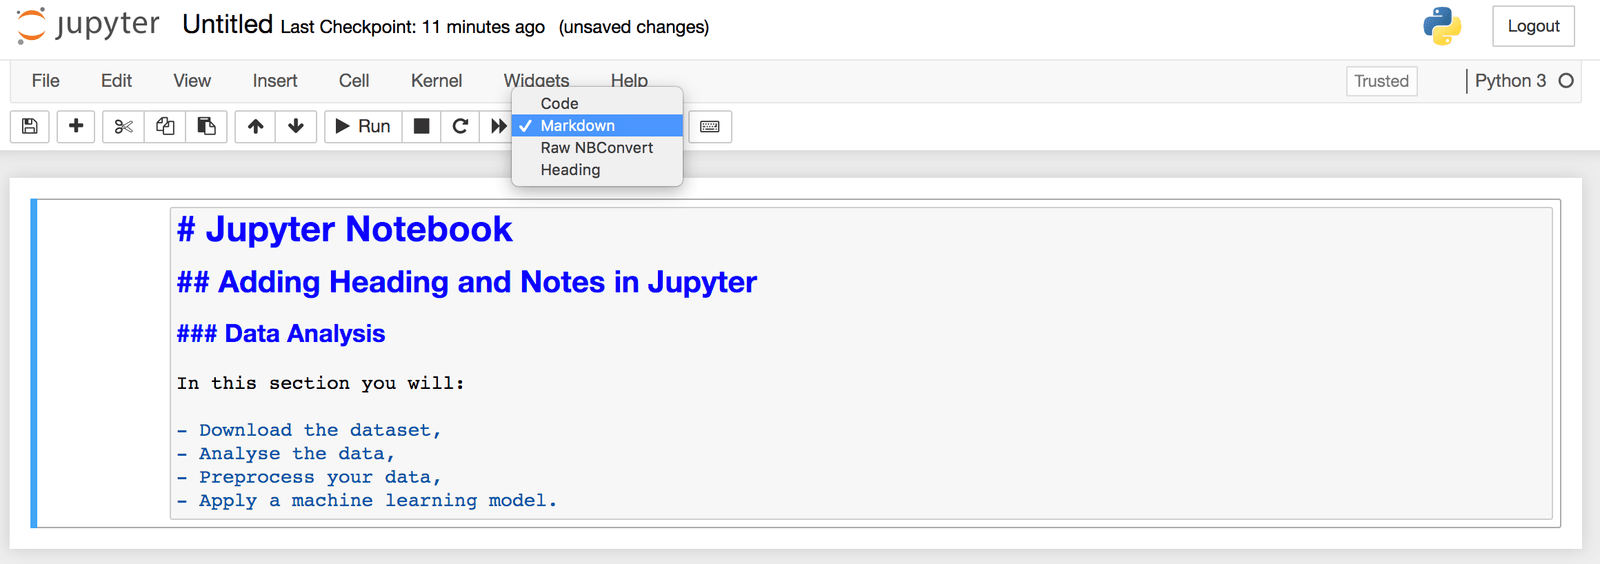
Adding Heading and Notes in Jupyter Notebook
In the drop-down menu shown below, you have four options:
- Code – In the code cell, you write the Python code.
- Markdown – In this cell type, you can add headings, notes, documentation, etc.
- Raw NBConvert – This cell type can be used to render different code formats into HTML or LaTeX. This information is stored in the notebook metadata and converted appropriately.
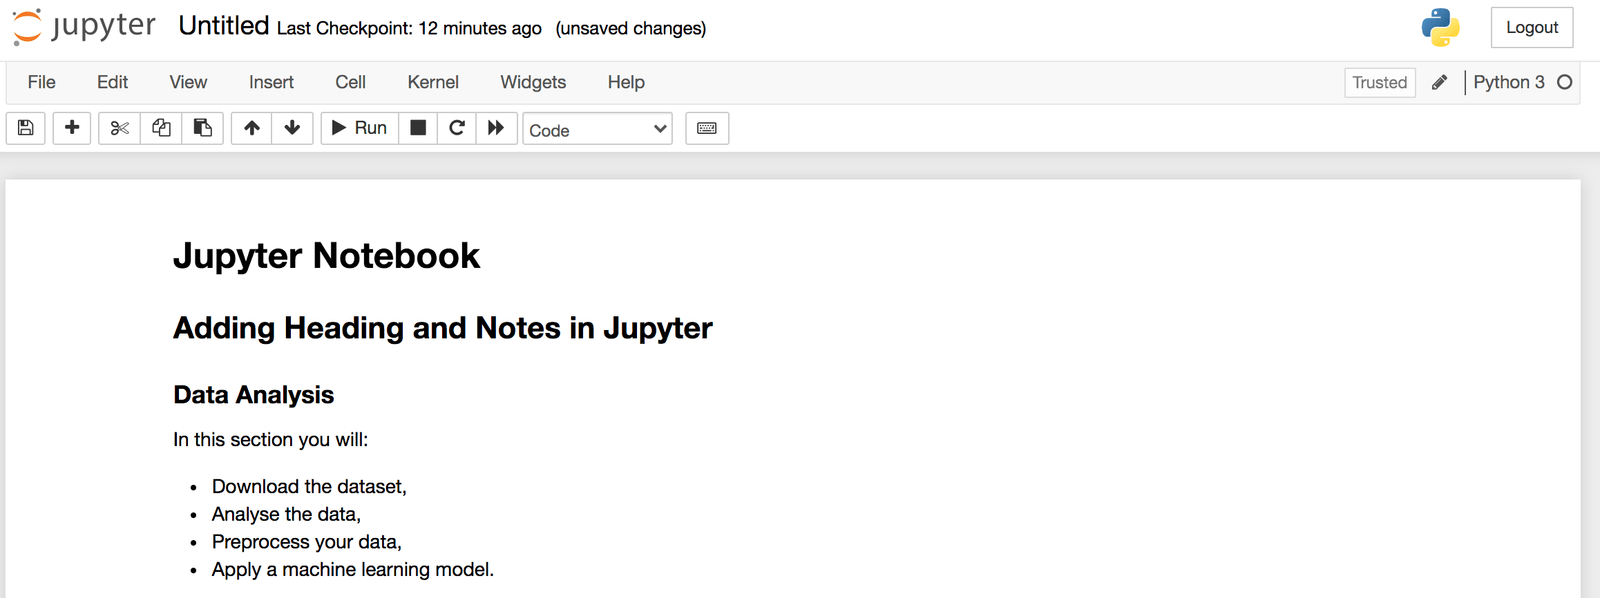
Let’s look at the markdown example for adding headings and bullet points:
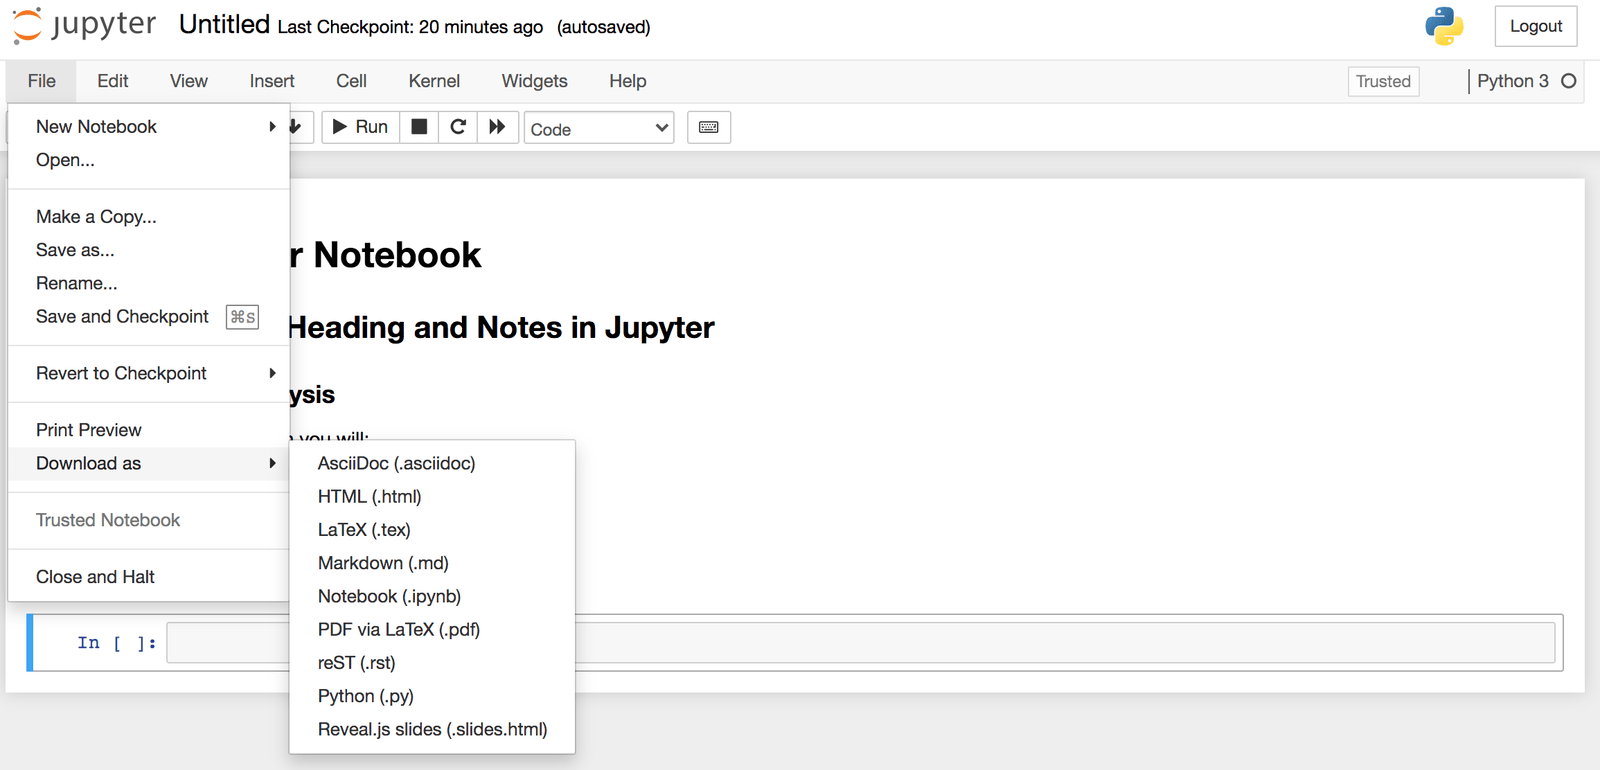
Sharing a Jupyter Notebook
This is one of the great and cool features of a Jupyter Notebook.
Go to the Files menu, and you’ll see a Download As an option where you can download the Jupyter Notebook in almost nine different ways. The most commonly used is either a .ipynb or .py file:
[ufwp search=”Python for the Jupyter Notebook” items=”1″ template=”list”]
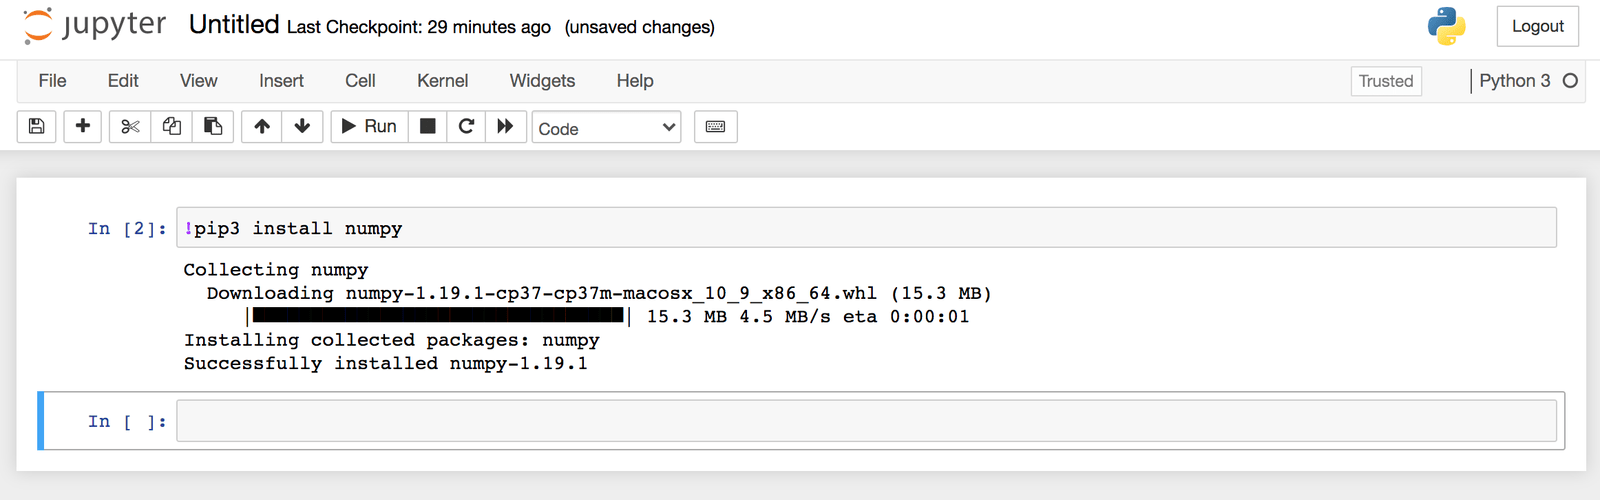
Installing a Python Module in Jupyter Notebook
Installing a Python module inside Jupyter Notebook is as easy as installing it from the terminal. All you need to do is use an !(exclamation) mark at the start of the command, as shown below:
Writing a Python Function in Jupyter Notebook
Let’s write a Python function that generates random integers between 0 and 100 five times, and each time the size of the vector increments by one.
First, let’s import numpy.
import numpy as np
Next, the random function which takes two inputs, low and size of the array, and finally returns the num.
def random(low, size):
    num = np.random.randint(low=low ,size=size)
    return num
for i in range(5):
    print(random(100, i+1))
[80]
[19 89]
[66 72 77]
[41 55 82 10]
[95 90 53 99 46]
Conclusion
In this Jupyter Notebook tutorial, you were introduced to its advantages. You further learned how to install Jupyter Notebook using pip and Anaconda. Finally, we covered a few practical use-cases like how to make headings, write python code, and how to share a Jupyter Notebook.
To learn more about Jupyter Notebook, please check out this complete comprehensive tutorial Jupyter Notebook Tutorial: The Definitive Guide.
[ufwp search=”Python” items=”3″ template=”grid” grid=”3″]
[ufwp search=”Jupyter Notebook python” items=”3″ template=”grid” grid=”3″]